Wednesday, April 27, 2011

Playing Catch Up

Gasp! where have the asteroids gone?


Why they're  right here!


As you can see they are about half soldered together, there's still some fill in to do before they are tumbled clean. Likewise my kalimba is coning along, I've hydraulic die formed the bottom of the sound box and half soldered a giant bezel of a wall to it. I've also begun planning the top, but there are some supplies I need to get first.


Woooooooo ghostly blue pickle! In other exciting news that I got so wrapped up in I didn't have time to post, was that my tiara went down the runway at the fashion department's big event, Runway 4.0!

As you can see my camera was less than apprectiative of the contrast of bright stage lights and the dark audience. The tiara was graciously modeled by Molly for Clare Canavan's clothing line.


Here's a short video I took of all the models going around angain at the end of the show. You can see my tiara at 45 seconds or so, it's the one the camera tracks. After this we finally held our own personal "runway" in the classroom, where we had to wear our tiaras to a song and do some preformance art by strutting around.

I "danced" to this song and everyone really liked it and thought it fit the jewelry piece well, though given the the number of vaguely Irish instrumental songs other students also used, I can't help but wonder if I should have gone with something composed on an Atari for that extra futuristic chiptune sound.

Thursday, April 14, 2011

Would Anyone Like a Mint?

First off, good news! My tiara will be on display with others Saturday in the V.I.P. lounge at Runway 4.0, the Fashion Departments big student show! Yaaaay!

Next up some good old progress updates:

The re-do of the ring in Rhino printed fine except for the three tori on the the top/front but thats my fault for not re-orienting the ring on the computer into a more easily printable postition. The Pacman brooch also printed fairly well and is in the display cabinet outside of the studio.

And, I finally got the asteroids decently cleaned up to where they look like the one on the right. that was achived thanks to our now functioning sand blaster in the studio closet! Now all I have to do is grind off whats left of the sprues, solder them together, and send them through the tumbler for that extra polish.

I also made this mock up of a thumb piano/ kalimba just to see how bad it would sound. By constructing this one and looking at one that the professor's son has I've learned quite a lot about about what needs to be done on the final piece, such as
  • The keys have to be made of steel about three times wider than the bobby pins and arranged from smallest to largest in order to play the instrument with one hand.
  • The bottom "bridge" should have a taller profile than the top "bridge" and be made from a brass rod.
  • The rod holding down the keys should be made of steel. If not, it should be nailed down in more places than the ends or else the middle keys become loose.
  • Loose keys make a godawful buzzing noise.
  • there should be a great variation in length from one key to the next to create distinct notes.
Here's a bonus video of me playing around with my little Altoid kalimba, you can hear how loose the center key is and that most of the other ones are way, way too short. But it goes plink plink! A final thought on the project is that hyrdaulic die forming was tossed around as a quick way to make a hollow sound box, so I went looking through the drawer of old dies and found this one.

It's just wider than my admittedly small wrist and its the perfect shape I've been trying to think of for the sound box, hopefully I can use it or something similar. For now it's time to sleep on it, because tomorrow is the set up for the Runway 4.0 show!

Tuesday, April 12, 2011

Thank God For Museum Studies

So there I was in my museum studies class ruminating on needing an idea for the next project in jewelry when we were doing an exercise on object based learning. The object and photograph my partner and I were working with was of one of these the professor bought from World Bazaar in the Galleria Mall:


Hers was more like the one on the right. Now what these are are a musical instrument, originating in Africa, variously called a finger piano, thumb piano, sanza, kalimba, or mbira. its played by plucking the tines to make notes. The point is, I wanted one and when it hit me that the instrument was just steel tines sandwiched between three metal rods screwed onto a sound box, I realized I could make one for jewelry! ....maybe.

Now I think its an unusual enough instrument that it could go for science fiction; it's not as weird as a theremin, but good enough especially if its given a radical space age shape. But therein lies a problem. You see, many instruments are made of wood for a reason, it's because wood vibrates and resonates to amplify the plucking of a string according to my glancing through wikipedia. So if I decide to make a thumb piano out of metal what does that do to the acoustics of the instrument. Will it produce no sound? A soft sound? A tinny or metallic sound? It must be a crap sound since I can't find any one silly enough to try making an instrument's sound box out of metal.

The closest I could get to it is was this video of a guy who made a prototype thumb piano for a camp project idea.
The bulk of his sound board  is still made of wood, but the top appears to be metal which makes me wonder if it will be possible to make it entirely of metal and still get a sound, perhaps an alien sound? Therefore to test it I am going to follow his example and buy an Altoids tin, some bobby pins, and assemble a quick and dirty one using some scrap metal to tack down the pins. Worse comes to worst I save this idea for when I have to take wood shop!

P.S. 50 years ago today Yuri Gagarin was the first man to go into space! As a further aside Google changed their logo for the event, it looks quite a lot like Russian stamps that commemorate space flight.


Sunday, April 10, 2011

It's a CAD, CAD, CAD, CAD World: Part 2 Electric Boogaloo

It's part two of the Rhino CAD workshop today! First off my ring came out of the printer with the some of the objects from other participants, and I discovered that not only did I not check as to whether Rhino was drawing a radius or diameter of my ring band but I was looking at the completely wrong size measurement too. Mine is in the zoom on the right.

 
So I rebuilt it again because the band is already too thin to scale it down, here's the new one:

I cut down the number of doughnuts, or tori as fashionable people refer to them, because seven was way too much going across the top of the ring. But I'm hoping that I can make a rubber mold of the old ring and cast its as a pair of earrings, like so:


Not a bad styling is it? The next thing was making an array of curved objects to go around a brooch or pendant of sorts and here it be:

Go Pacman! There's nine Pacman shapes (chowing down on power pills) going around a ring. This is also one I want to cast in silver and then paint Pacman yellow and the power pills pink.

The final project in the workshop was doing a test coaster for a color 3D printing process and thus I borrowed this GIS image for "colorful,"

and put it on a coaster in Z-edit like so after building it in Rhino.
It took a few tries but I was able to get the computer to show it without overloading the graphics card and turning into an interlaced mess. In conclusion it was a great workshop and inspiring lecture that made me and everyone else wish for regular access to a 3D printer!

Saturday, April 9, 2011

It's a CAD, CAD, CAD, CAD World.

Right now I'm in a CAD workshop using a 3D modeling program called Rhino. I knew nothing about it before hand but with some basic tips and lots of help from the instructor, I was able to make this ring! Tonight it will be sent to the 3D printer and hopefully tomorrow I will be the proud owner of a size 7 white plastic ring.

I have affectionately nicknamed it the Doughnut Ring.

Friday, April 8, 2011

Riveting my Brains Out

Don't worry I got them back in later. So why rivets? Well, you see, like many long, strange trips to brain loss I began making the tiara project in my basement during the last two days of break.

While doing that I revised my original plan a little bit in order to incorporate more spoons into the tiara, this is the only sketch I made showing what the right side of the tiara would look like.

And here it is riveted together. I decided to cold connect the entire piece because I used silver plated spoons and heat will ruin the finish.

Because I scrapped much of my original design there was lots of trial and error with masking tape. The dangly rhinestones over the nose (theres a rhinoplasty joke in there somewhere) never made it into the final piece, among other ideas too ridiculous to photograph.

This is the basic form of the tiara all riveted together, what remained was to decorate it with found objects which some of the holes for riveting those were done on the drill press at home.


The top image is the first trial layout of items and the bottom is the later, mostly final arrangement of objects on the tiara. By this time it was Monday and I was back at school.

Here it is half riveted at about 11 o'clock on Wednesday night, after obtaining more drill bits, when I decided it would be a better idea to go to bed and finish it on Thursday.


And here its is finished! Enjoy the four picture turn around of it. There are 30 rivets holding it together including the found objects. Besides the spoons (of which there are 6.5) going from the left there is a gold domed clip earring wire wrapped on, a pink and white plastic leaf necklace part, silver crescent shaped pierced earring, 1940 Canadian penny with copper disc underneath, two buick key knock outs, a Chrysocolla cabochon in a copper star, an gold clip earring back, a re-created necklace hang tag (I broke the original trying to get it attached), three brillant cut CZs and blue plastic gems in a nickel-silver volcano setting, a wire wrapped brown plastic clip earring, and a bee clip earring. All of this makes it a heavy piece with a lot of weight towards the front, you can't look down with it on or else it starts slipping down your forehead. Form over function I suppose...


I'm so proud of this work I actually decided to be pretentious and dug out my stamping set and put my initals plus the date on it. The bonus picture on the right is most of the rivets visible on the inside of the forehead band. They've been crushed pretty smooth so they don't catch too much on one's hair. Speaking of which...


Here it is being worn and me doing my best "concentrating on pressing the shutter" face. I'm going to be submitting this piece for the fashion show that the fashion tech department does each year, this year jewelry is doing a bit of a collaboration with them, and I hope my piece gets accepted! Now, some of you may be wondering what happened to the asteroid necklace and well.......

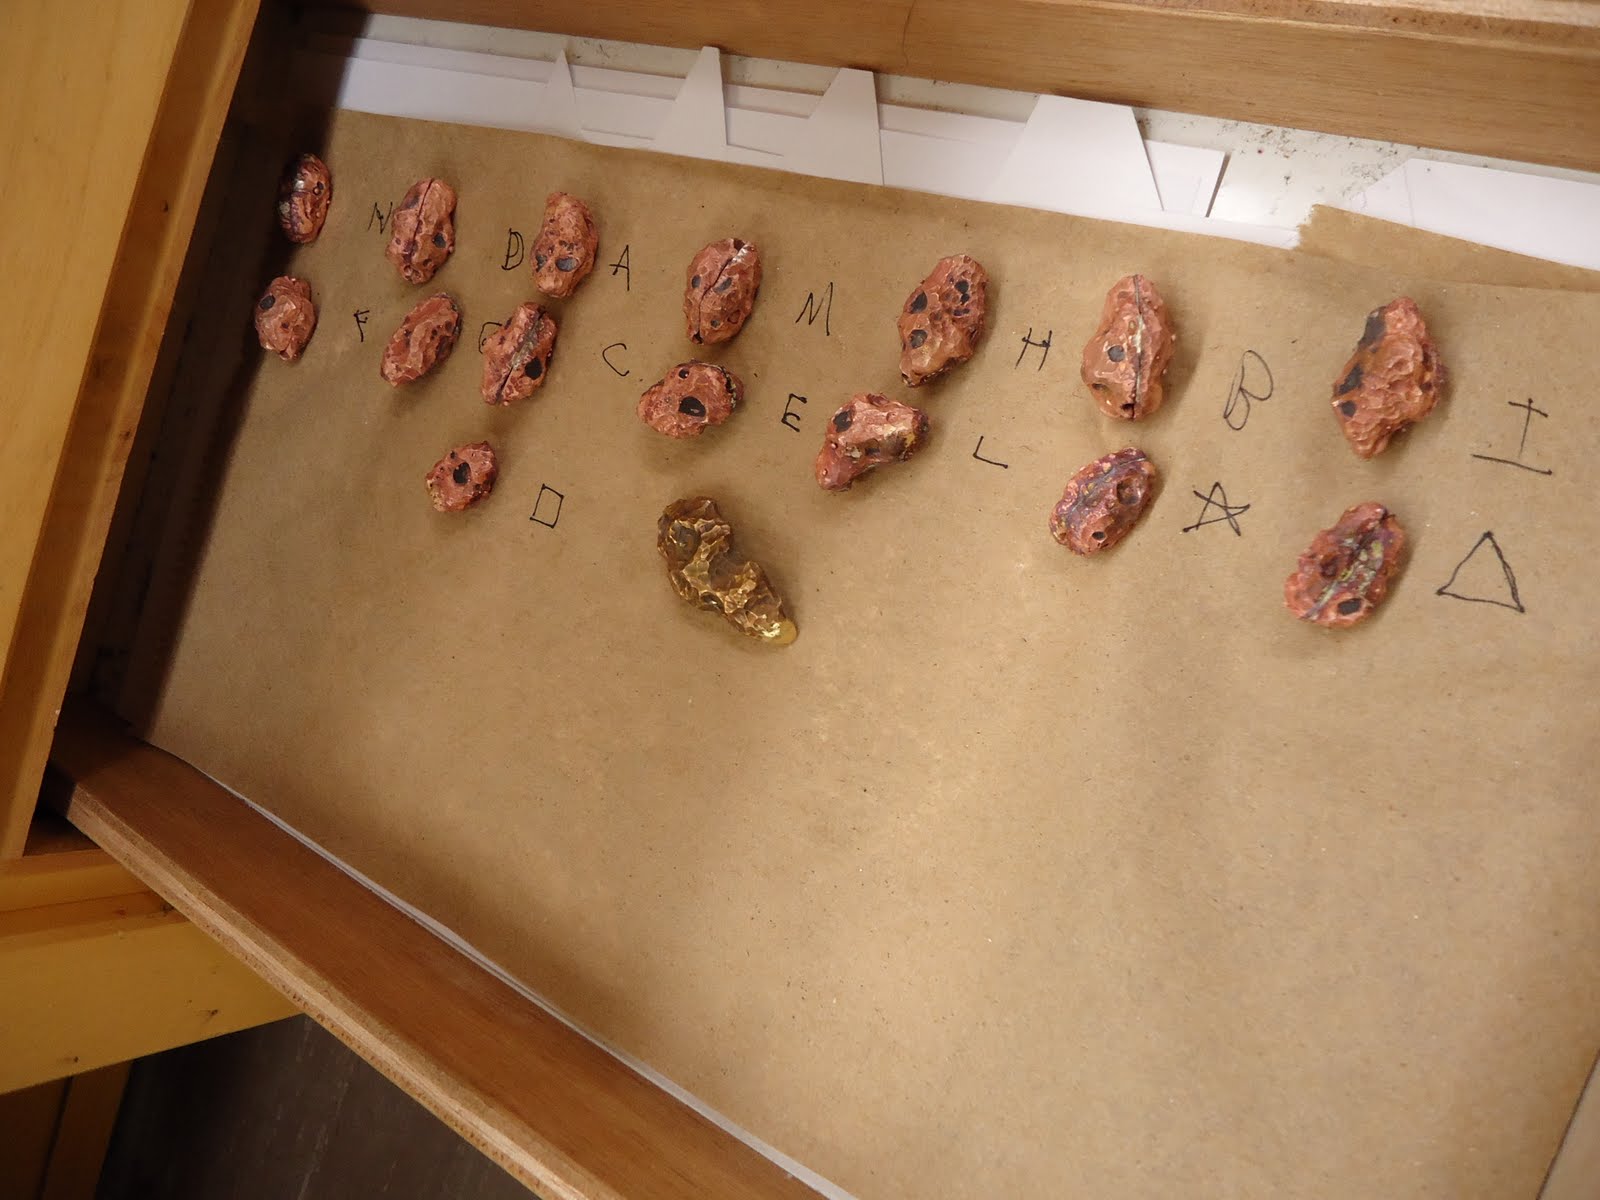
It got casted, the smaller one is 1.6 ounces and the large tree is 12.6 ounces of brass. Coincidentally, we found out the electromelt can maybe hold 14 ounces of metal. It looks like I'll be working on this again Friday morning when I hand in my tiara untill the next project is assigned.